Improve Email Deliverability: A Simple Guide to Setting Up Your DMARC Record
Are your emails landing in spam? Learn what a DMARC record is and why it's essential for email security and deliverability. Follow our simple, step-by-step guide to set up a DMARC policy, prevent email spoofing, and protect your brand.
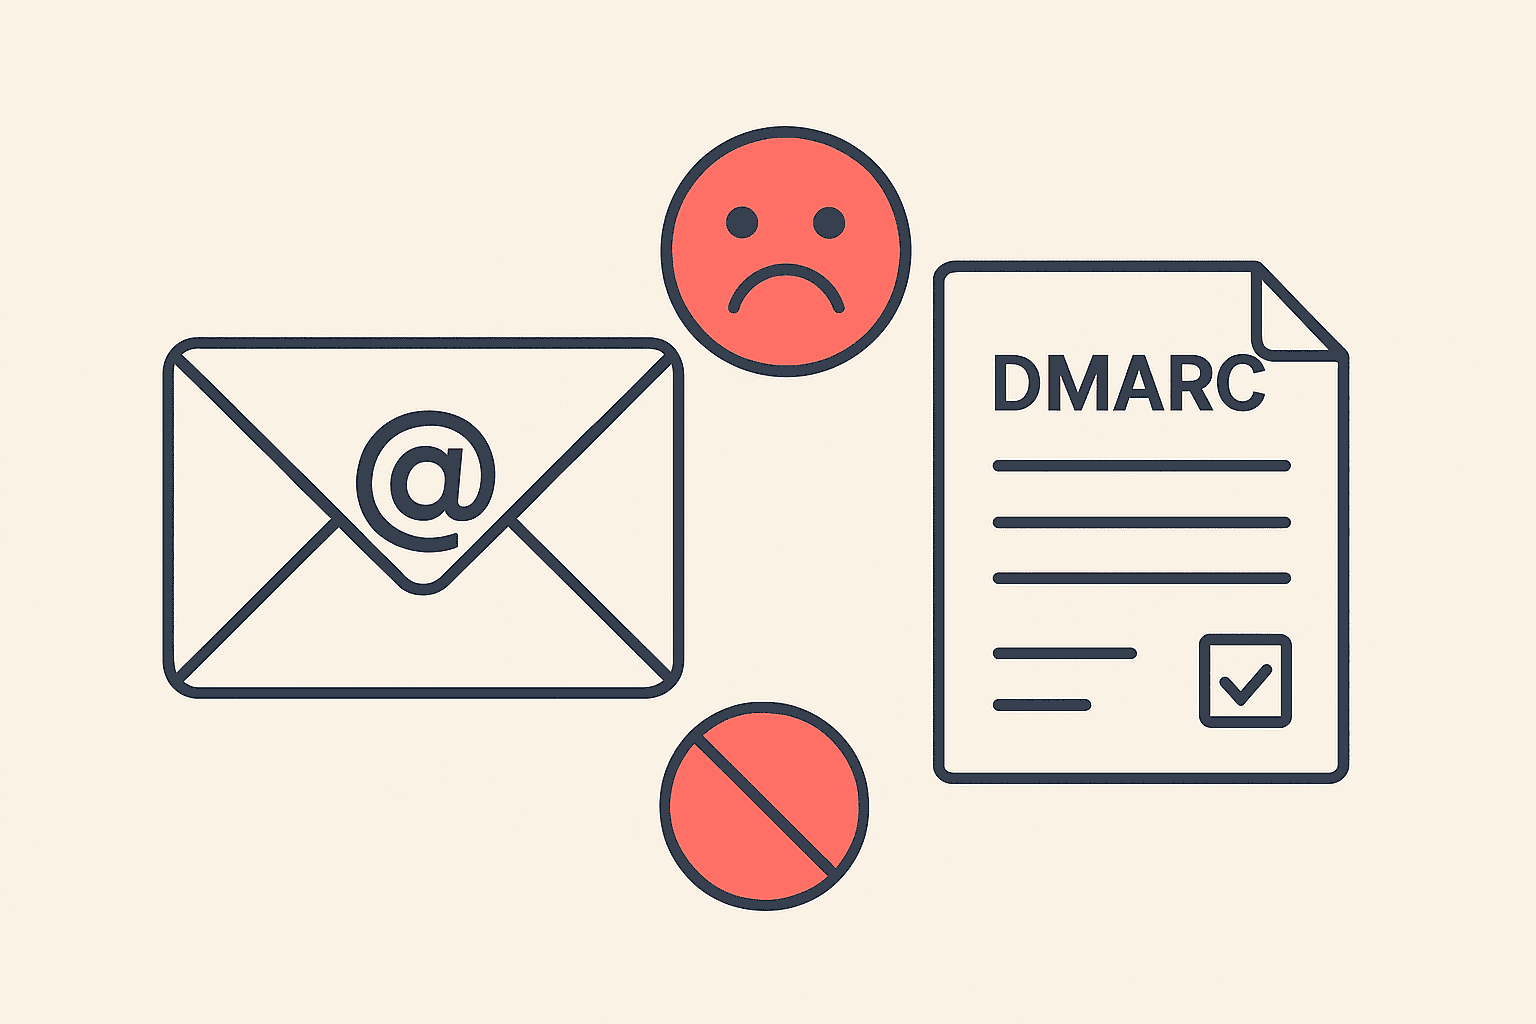
Have you ever sent an important email, only to find out your emails are landing in spam? Or, consider a more alarming email security scenario: someone spoofs your domain to send phishing emails to your users.
These problems often point to a single, overlooked technical detail that hurts your email deliverability: the DMARC record.
This isn't just another acronym; it's the first line of defense for your brand's reputation and your users' trust.
What is DMARC and Why is It So Important?
DMARC (Domain-based Message Authentication, Reporting, and Conformance) is an email authentication protocol. Think of it as a "digital ID system" for your domain's emails.
It works with two other protocols (SPF and DKIM) to tell the world's mail servers:
- "Who is authorized to send email on my behalf?" (The SPF record)
- "Was this email's content signed by me and not tampered with?" (The DKIM record)
- "If the checks above fail, what should you do with this suspicious email?" (The DMARC record)
The dangers of not having a DMARC record are severe:
- Brand Impersonation: Anyone can easily prevent email spoofing from being detected, sending fraudulent emails that damage your credibility.
- Poor Email Deliverability: Without a way to verify your emails' authenticity, major email providers may flag your legitimate emails as suspicious, causing them to be rejected or sent to spam.
- Lack of Insight: You are completely blind to whether someone is spoofing your domain.
How to Set Up a DMARC Record (Step-by-Step)
Fixing this is simpler than it sounds. You just need to add a single TXT record in your DNS provider's dashboard. We strongly recommend a safe, phased approach.
Step 1: Set Up a "Monitoring-Only" DMARC Record
This initial step will not affect your email delivery. It will only start collecting reports.
- Log in to your DNS management console.
- Add a new TXT record.
- Configure it as follows:
- Type:
TXT - Name / Host:
_dmarc - Content / Value:
v=DMARC1; p=none; rua=mailto:[email protected]; - TTL: Set to 1 hour or Auto.
- Type:
Important Note: Replace [email protected] with a real email address you control. The DMARC policy p=none means "no action"—it only reports, making it completely safe to implement.
How to Verify with a DMARC Checker
A few minutes after adding the record, you can use an online DMARC checker to verify that it's live.
- Visit the Google Admin Toolbox (toolbox.googleapps.com/apps/dig/).
- Enter your domain name and select the DMARC tab.
If you see the record you just added, you've successfully configured it!
From Tedious Configuration to Focused Creation
Managing DNS, understanding SPF, DKIM, DMARC... these technical details, while crucial for email security, steal precious energy from you as a creator. Your time is better spent creating content.
At Postion, we believe technology should serve creativity. We handle all the underlying security configurations for you, including DMARC and CAA, ensuring your site is built on a secure foundation from day one. You don't have to worry about a single DNS record—just focus on writing and connecting with your audience.
Ready to build your personal content website on a platform that's secure and convenient? Learn how Postion helps you easily build and own your digital brand.
Topic Hub
Explore the Audience Growth Hub
This article is part of a larger cluster. Use the hub page to move between the pillar guide and the supporting articles that reinforce the same topic.
Keep Exploring
Related Reads
More posts connected to this topic cluster and reading path.
Gmail Account Creator Tool: The Risks & The Professional Alternative
Searching for a Gmail account creator tool? Before you risk your business with a bulk Gmail account creator, learn about the dangers and discover the professional alternative for managing your brand's communications.
Who Issues Your SSL Certificate? Why a CAA Record is Crucial for Website Security
Learn what a CAA record is and why it's crucial for your website security. This guide explains SSL certificate security and shows you how to add a CAA record to prevent unauthorized issuance and man-in-the-middle attacks by specifying your chosen Certificate Authority.
How to Create a Nonprofit Website for Free (A 2026 Guide)
Need to learn how to create a nonprofit website for free? This guide reviews the best free website builders for nonprofits and explains when to invest in a professional platform to build trust and grow your mission.