Setting Up a Custom Domain
Connect your custom domain to Postion to build brand trust and boost your SEO. A professional, branded URL is key for long-term audience growth.
Connect Your Custom Domain
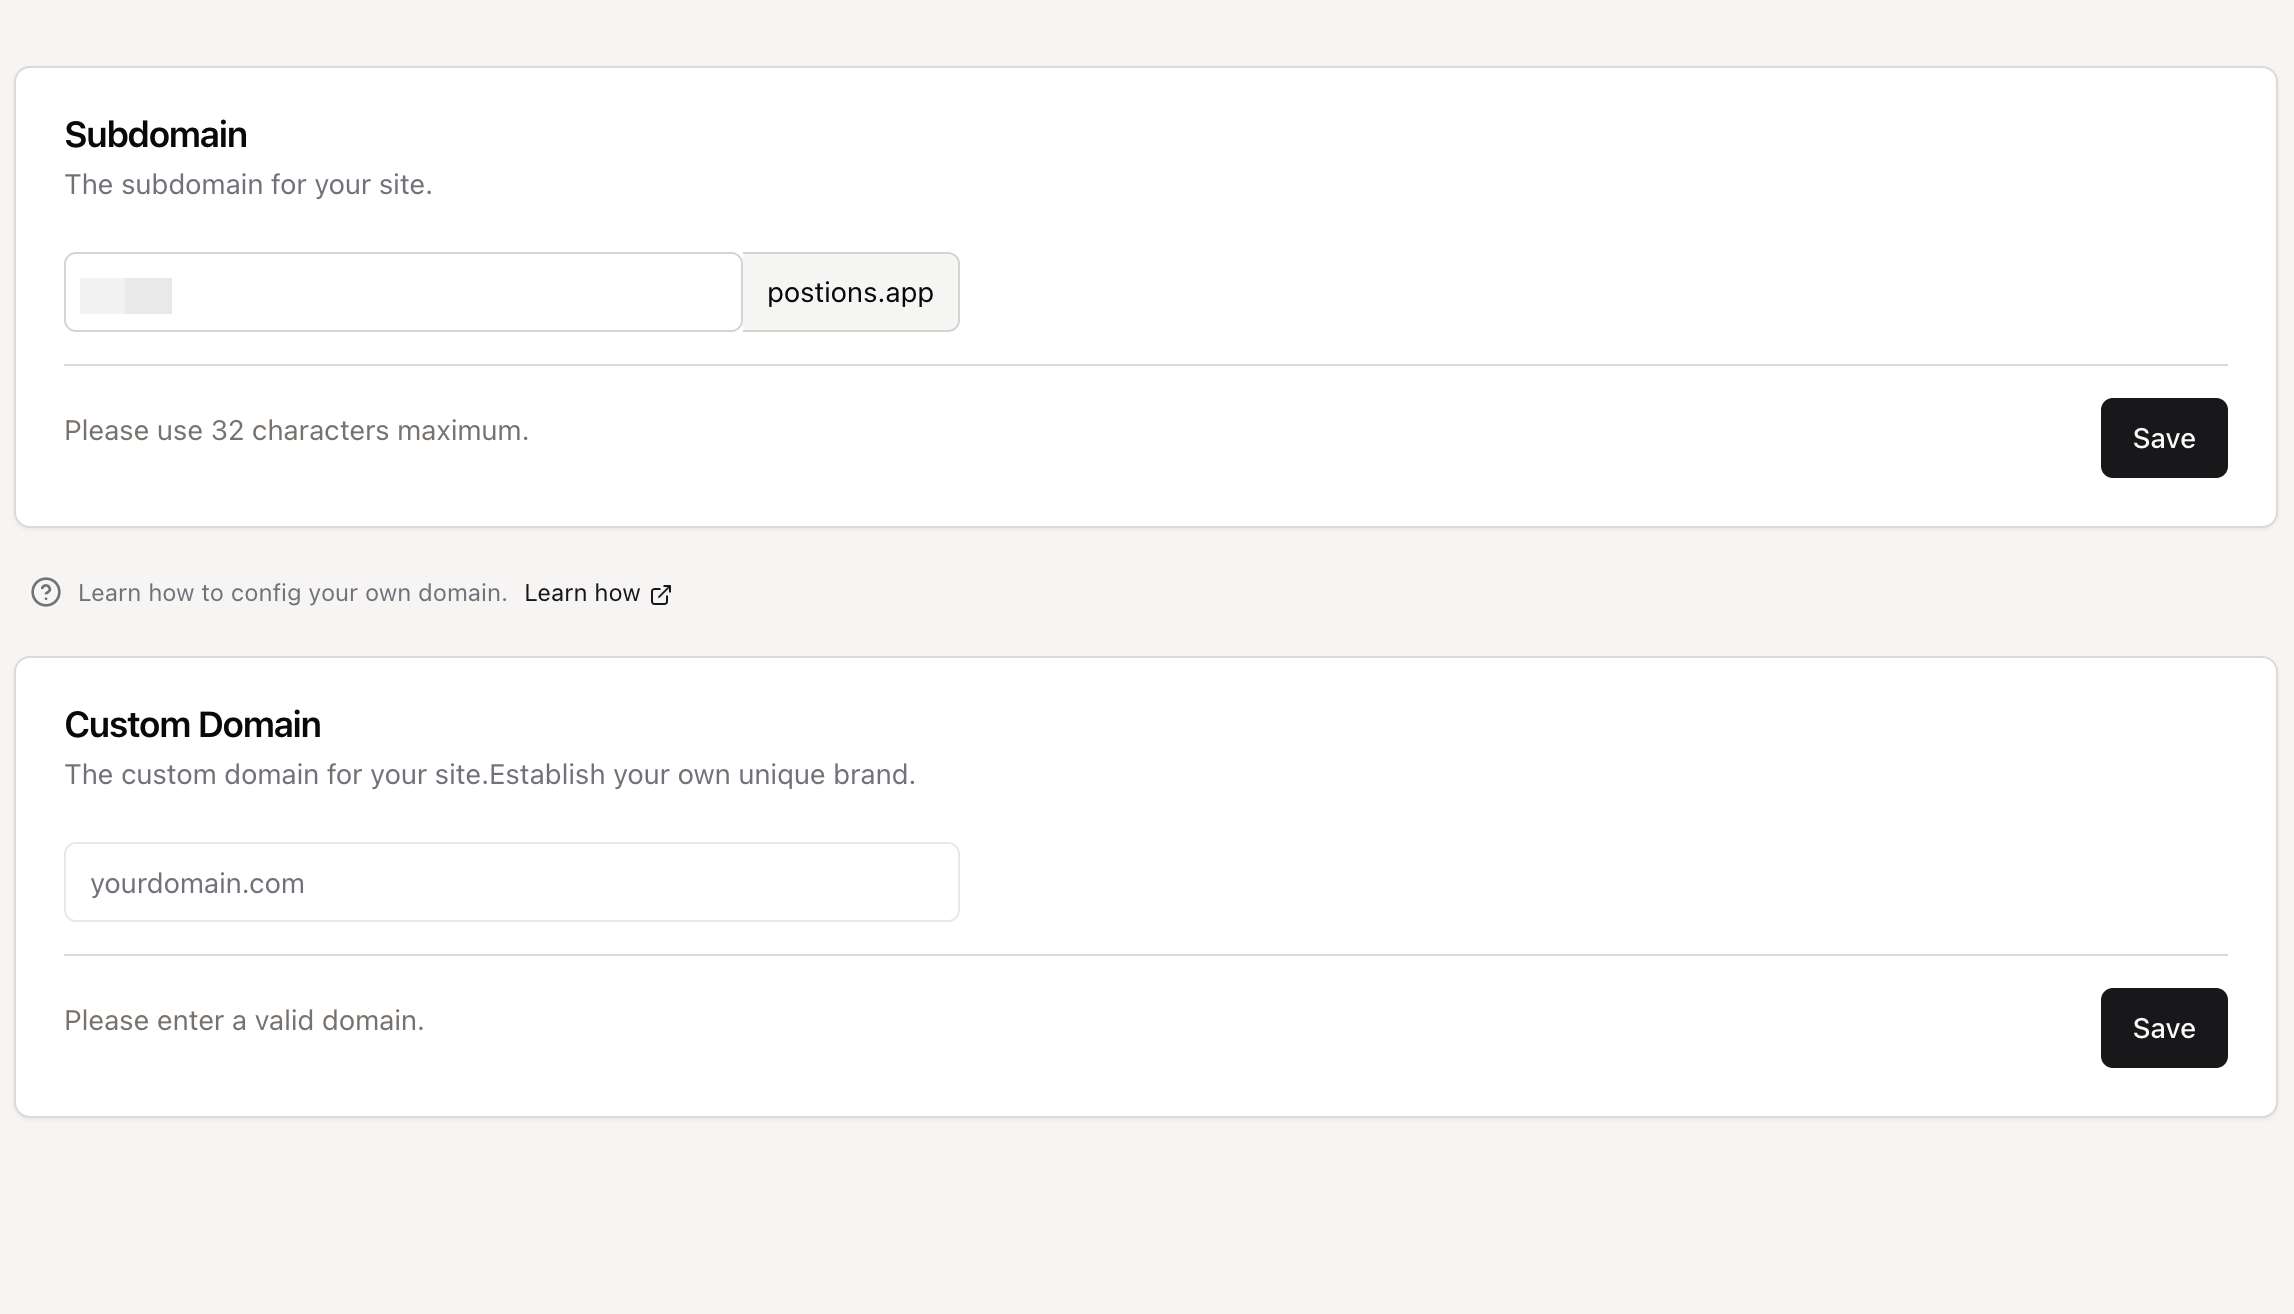
Using a custom domain (e.g., blog.yourname.com) instead of the default subdomain (yoursite.postions.app) is a great way to build your brand and improve credibility. This guide will walk you through the process of connecting your domain to your Postion site.
The process involves creating a CNAME record in your domain's DNS settings.
Why do we use a CNAME record?
We exclusively use the CNAME method because it's the most secure and reliable way to connect your domain. It allows us to automatically apply security updates, performance improvements, and route your traffic through our global network without ever requiring you to update a server IP address. This ensures your site remains fast, secure, and always online.
Step-by-Step Guide
Step 1: Go to Your Domain Registrar's DNS Settings
Log in to the account where you purchased your domain (e.g., GoDaddy, Namecheap, Google Domains, etc.). Navigate to the DNS management section for the domain you want to connect.
Step 2: Create a CNAME Record
You will need to add a new DNS record with the following details. The labels for these fields may vary slightly depending on your provider.
- Type: Select
CNAME. - Host (or Name, Alias): Enter the subdomain you want to use.
- For
blog.yourdomain.com, enterblog. - For
www.yourdomain.com, enterwww.
- For
- Value (or Points to, Target, Destination): Enter
cname.postions.app
Here’s an example of what the configuration should look like:
Example CNAME Record
Special Instructions for Cloudflare Users
If your domain is managed through Cloudflare, there is one critical extra step to avoid a common error.
Crucial Step: Disable the Cloudflare Proxy
When adding the CNAME record in your Cloudflare DNS dashboard, you must ensure the Proxy status is set to DNS only. This is represented by a gray cloud icon.
Do NOT use the orange cloud (Proxied). Using the orange cloud will cause your site to be inaccessible and display an error. This is required by Cloudflare's security policy for this type of setup.
Correct Configuration (Gray Cloud):
Step 3: Wait for DNS Propagation
After you've saved your CNAME record, it can take some time for the changes to propagate across the internet. This process can take anywhere from a few minutes to, in rare cases, up to 48 hours, but it's typically quite fast.
You can check the status of your DNS propagation using a tool like whatsmydns.net.
Step 4: Add Your Custom Domain in Postion
Once your CNAME record is set up, the final step is to add the domain in your Postion dashboard:
- Navigate to your Site Settings.
- Go to the Domains tab.
- Enter your full custom domain (e.g.,
blog.yourdomain.com) and click Add Domain.
Our system will automatically verify your DNS settings and provision an SSL certificate for your domain, ensuring it is secure (HTTPS).
✅ DNS Verified
Our system will confirm that your CNAME record is pointing to Postion correctly.
🔒 SSL Certificate Issued
We automatically issue and renew a free Let's Encrypt SSL certificate for you.
Frequently Asked Questions
Why can't I use an A record to point to an IP address?
This is a great question and it comes down to security and reliability. Exposing a direct server IP address (which an A record does) would create a significant security risk for our entire platform and all of our users. It would also mean that if we ever need to upgrade our server infrastructure, your site could go offline until you manually update the IP address.
By using a CNAME record, we can manage all of that for you behind the scenes. Your domain points to a stable address, and we handle the rest, ensuring your site is always protected, performant, and pointing to the right place. It’s the industry-standard best practice for modern SaaS platforms.
If you encounter any other issues, please double-check your CNAME record settings or contact our support team for assistance.